Table of Contents
Storing your files on a Synology NAS (using iSCSI)
You can configure Berryboot to install the operating system files to iSCSI network storage, instead of storing them on the SD card. This improves performance, especially when using applications that write a lot to the file system.
Requirements
This tutorial shows how to hook up your Pi to a Synology NAS device, however you could configure NAS devices from other vendors or a plain computer running Linux or FreeBSD to act as iSCSI target as well.
Creating the iSCSI target
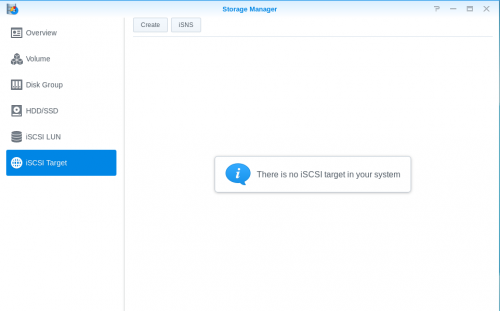
1) Login to DSM (the Synology webinterface), and go to the “storage manager” → tab “iSCSI target” → press “Create”
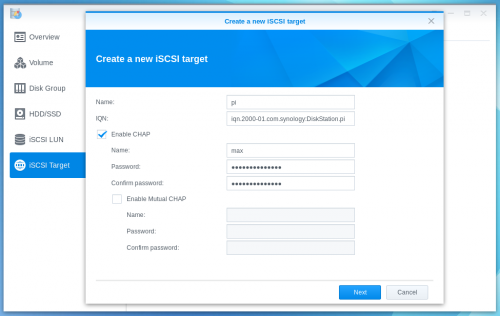
2) Enter a name and unique IQN of your choice. Write down the IQN as we need to specify it later in Berryboot.
Optionally you can press “Enable CHAP” and enter a username and password of your choice, to password protect access to the iSCSI target.
→ Press “next”
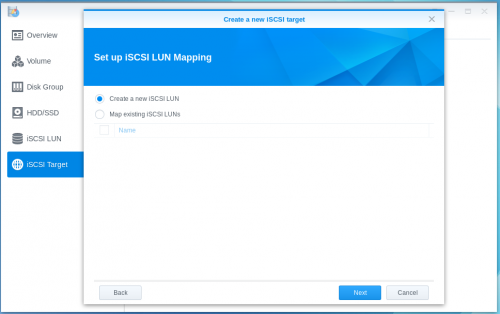
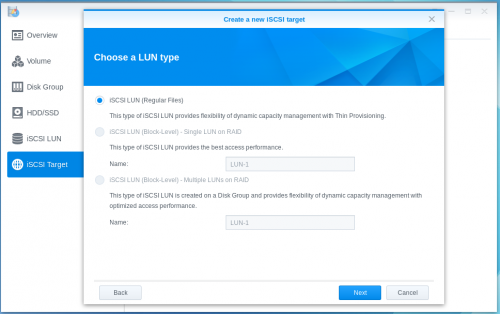
3) We want to “create a new iSCSI LUN” → Press “next”
4) Select “iSCSI LUN (regular files)” (unless you want to assign an entire dedicated disk to the Pi, in that case you could select “block level”)
→ Press “next”
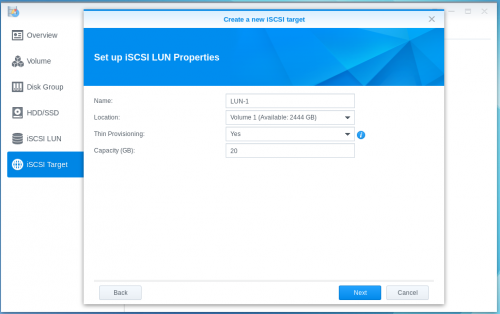
5) Under “capacity” specify how many GB of storage space you want to assign to your Pi → “Press “next”
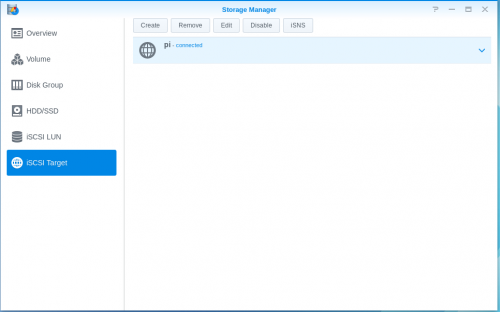
6) Press “edit”
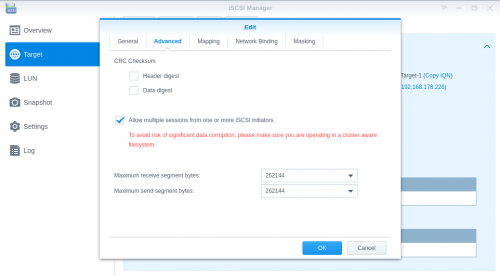
7) Go to the “advanced” tab, check the “Allow multiple sessions from one or more iSCSI initiators” box, and press “OK”.
You are now done creating the iSCSI target.
Installing Berryboot
1) Extract the files from the Berryboot .zip to a blank FAT formatted SD card, using your regular computer.
2) Insert the SD card into your Pi, and turn it on.
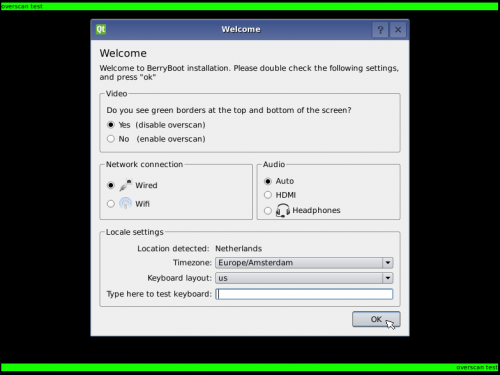
3) Verify it detected your locale settings correctly, and press “next”
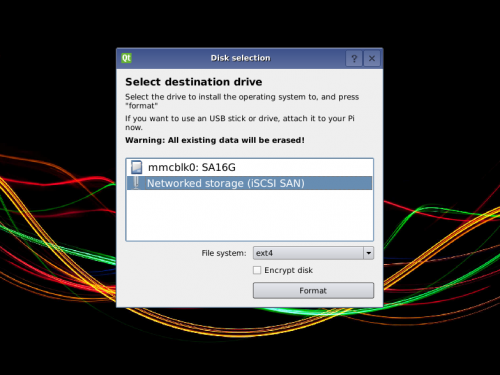
4) Select “networked storage (iSCSI SAN)” → press “format”
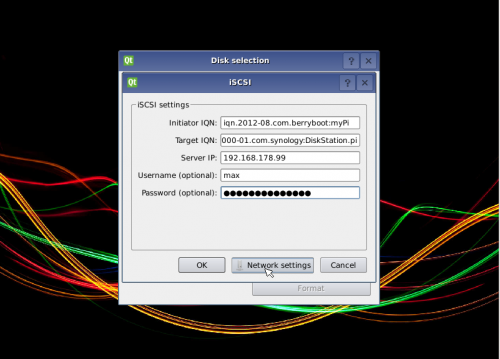
5) Enter the IQN you created earlier in the “target IQN” field, the IP address of your NAS device as “Server IP”, and the username and password if you enabled CHAP authentication earlier.
The default “initiator IQN” -identifying your Pi- is fine as-is.
If you need special network settings (e.g. if you want your Pi to use a static network configuration instead of DHCP) press “network settings” otherwise → press “next”
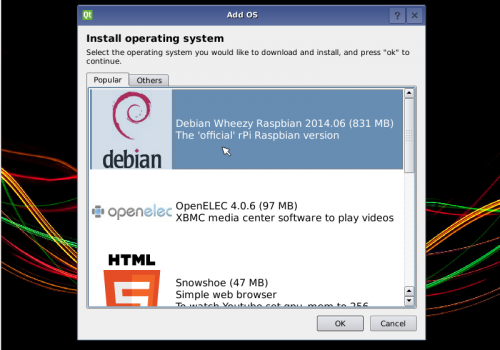
6) You can now install an operating system, and its files will be stored on the NAS device.
Be aware you still need to keep the SD card containing the Berryboot files in your Pi though, as those are required by the Pi to boot from.


